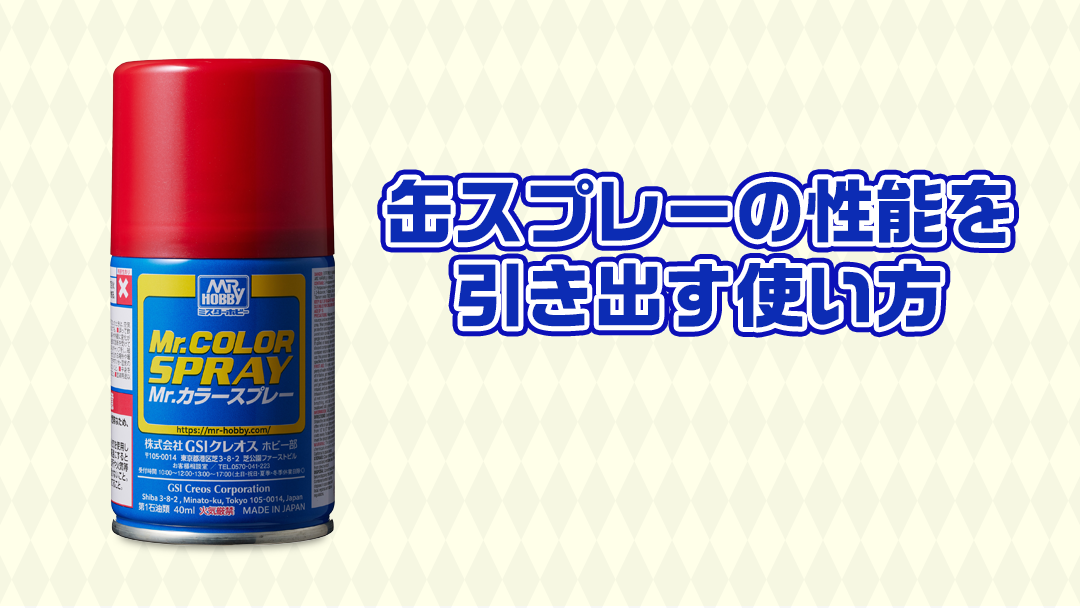
Let's start here! How to maximize the performance of spray cans
Text by Meister Sekita, Supervised by GSI Creos Co., Ltd.
Hello, this is Meister Sekita.
In this article, I'll summarize the basics of spray painting.
Compared to other painting methods like brush painting and airbrushing, spray cans are characterized by their overwhelming ease of use.
However, they can also be quite challenging, with results often not coming out well even if applied carelessly.
However, this level of difficulty can be significantly reduced by mastering the key points of use.
In this article, I'll share some tips for enjoying spray can painting while keeping those key points in mind.
[Why are spray cans difficult?]
Why is the difficulty different between airbrushes and spray cans, both of which spray paint in a mist?
This is because spray cans force you to control the spray conditions, which limits your control over the paint application.
[Factors for Controlling Airbrush Paint Conditions]
1. Concentration = The amount of solvent added to the paint
2. Pressure = The air pressure spraying the paint
3. Distance = The distance between the handpiece nozzle and the part
4. Spray Volume = The amount of paint sprayed from the nozzle
5. Hand Movement = The speed of the hand movement and the type of movement, such as linear or circular movement
With an airbrush, these five factors control the spray condition and volume, but with spray cans, only distance and hand movement are required.
This requires precise control, which makes spray can painting difficult.
However, as mentioned above, the process itself is simple, and the difficulty can be reduced by paying attention to key points from the preparation stage. We will explain these points from here.
[Shake Well First]
The most important thing when preparing a spray can is to shake it well.
Shaking thoroughly mixes the paint in the can, ensuring uniform color development and consistent spray results.
To mix the contents of the can well, you'll want to think about how you shake it.
You can mix the contents to a certain extent just by shaking the can up and down, but for more efficient mixing, we recommend holding the can by the top and shaking it so that the bottom moves more.
This shaking method makes it easier to mix the paint because the stirring ball inside the can moves in a way that loosens the pigment components that have settled to the bottom.


[Avoid spraying when the can is cold]
When the can is cold, the gas pressure inside it becomes low, which can cause problems when spraying.
It's recommended to warm the can to about body temperature before spraying.
[Disadvantages of low gas pressure]
1. The paint mist becomes coarse, making it difficult to control and resulting in a poor finish.
2. You must get closer to the part, making it difficult to achieve the wide-area spraying characteristic of spray cans.
3. The paint mist is less likely to reach intricate details or recessed areas.
To avoid these disadvantages, warm the can to about body temperature and increase the internal pressure appropriately.
I personally hold the can in both palms and shake it up and down for about a minute.
Shaking isn't necessary, but since the paint has already been mixed, I shake it to maintain that state.

However, it is strictly forbidden to heat the spray can in hot water or expose it to an open flame or hot air from a hair dryer.
This could cause the can to burst, resulting in an accident or injury.

[Preparing for Spraying]
Since a large amount of paint is sprayed from the sprayer, if painting indoors, prepare a paint booth and ensure adequate ventilation by turning the exhaust fan on full blast and opening the windows all the way.

If you are using the spray outdoors, we recommend spreading out newspaper or plastic sheeting over a large area, creating an enclosure such as a cardboard box on top of it, and spraying into that area to reduce the amount of mist that spreads around.

Spraying produces a mist of paint over a wide area, so you should protect the hands holding the parts with gloves.
Among rubber gloves, nitrile gloves are recommended as they are resistant to solvents.

Also, to avoid inhaling paint mist that may splatter around you when spraying, be sure to wear a gas mask that protects against vaporizing solvents and a dust mask that blocks pigments and resin components.
By attaching handles to the parts, you can change the angle when spraying as needed.
If necessary, prepare a stand where you can rest the handles steadily while the paint dries.
[Actual Spraying]
Once preparation is complete, start spraying right away.
As mentioned above, there are two important points to pay attention to when spraying:
1. Distance from the part
2. Hand movement
If you're too close, you'll quickly end up spraying too much paint, causing it to drip.

If you place it too far away, it will be difficult to color and the surface will become rough, so find a middle distance that neither drips nor becomes rough.

The first thing to keep in mind when spraying a part is that you need to keep constantly moving.
Spraying while stationary will cause paint to drip and result in an uneven finish.
Also, sprayers produce a coarse mist when you press the nozzle to start spraying and when you release the nozzle to finish spraying.
1. Press the nozzle down once you've removed it from the part and start spraying.
2. Direct the mist toward the part while moving your finger in a parallel motion.
3. Remove your finger from the nozzle once you've removed it from the part to stop spraying.
Performing this series of movements quickly will allow you to spray the paint evenly and gradually.

The trick is to move the sprayer while keeping these points in mind, and not spray a large amount in one go in an attempt to achieve complete color development.
Instead, spray in several coats to gradually build up the color.
Especially for the first spray, it's enough to spray just enough so that the sprayed dots are visible through the base coat.


If you spray it at this rate, it will not drip, and once it dries it will absorb the solvent components of the paint sprayed on the second and subsequent coats, making it less likely to drip.
Leave it to dry in this state for 2-3 minutes.
From the second spray onwards, keep a close eye on the amount of paint sprayed and apply it in a way that will create a solid film.
It's easy to determine the amount to spray by shining a light onto it while spraying.
If you stop spraying just before the light reflects off the paint and the lumps disappear, it will be just before dripping, so stop at this point and allow time for drying.

If you spray it this thoroughly, you should allow it to dry for about 10 minutes before applying it again.

After that, repeat the same spraying as the second time until you get the color you want and the painting is complete.
Third spraying


Final Finish
For extremely small parts, apply less mist per application and apply the color in multiple applications to prevent dripping.
Kit Used: Aoshima Bunka Kyozai 1/32 Scale Rakupla The Snap Kit Toyota Vellfire (Black)
Spray Used: Mr. Color Spray 75 Metallic Red
Mr. Super Clear Gloss UV Cut
The black molded body is sprayed with three coats of metallic red, followed by one spray of Mr. Super Clear Gloss UV Cut for a lustrous finish.


At first, it may seem difficult to control, but once you get used to it, the advantage of spray painting is that it allows you to apply a quick, uniform coat of paint easily.
It is a beneficial option for those who are trying painting for the first time, so we encourage you to give it a try.